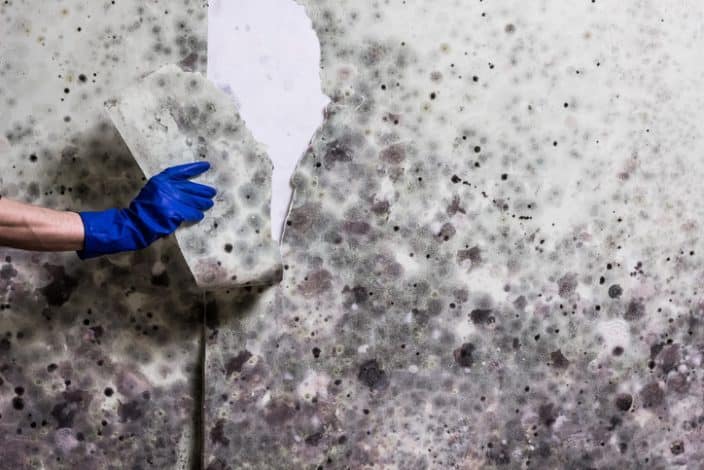
Proper mold removal is not just about aesthetics; it’s about health and safety. While many homeowners dread the sight of that unsightly green or black growth on their walls or ceilings, understanding and mastering the mold removal process can lead to a cleaner, healthier living environment. Let’s dive deep into the world of mold and discover how you can ensure a mold-free home.
What is Mold Removal, and Why Should You Care?
Mold is a fungus that grows in damp and humid environments. It reproduces by releasing spores, tiny particles that can be harmful when inhaled. Not only does mold damage the surfaces it grows on, but it can also lead to various health issues, especially for individuals with allergies, asthma, or weakened immune systems. Symptoms can range from nasal stuffiness and throat irritation to more severe reactions for those with mold allergies.
Identifying Mold in Your Home
Before we talk about mold removal, it’s essential to know how to spot it. While the most common types of mold are black or green, mold can appear in various colors, including orange, pink, or purple. Some tell-tale signs of mold include:
- Musty or damp odor
- Visible discoloration on walls, floors, or ceilings
- A history of flooding or water damage in the home
The Mold Removal Process
Mastering mold removal requires a systematic approach:
- Assessment: Before you embark on a mold removal journey, it’s crucial to assess the situation. Is it a small patch you can handle, or is it a more extensive problem that requires professional intervention?
- Protection: Wear protective gear, including a mask, gloves, and safety goggles. Ensure the room is well-ventilated.
- Isolation: If you’re dealing with a significant mold problem, it’s essential to seal off the affected area to prevent spores from spreading to other parts of the house.
- Cleaning: For non-porous surfaces like tiles, scrub the mold off with a mixture of water and detergent. Avoid using bleach as it doesn’t prevent the mold from returning and can pose additional health risks. For porous surfaces, like drywall, you might need to replace the affected areas.
- Drying: After cleaning, ensure the area is thoroughly dried. Mold thrives in damp environments, so eliminating moisture is your best defense against its return.
- Disposal: Discard any materials contaminated with mold, sealing them in plastic bags to prevent further spread.
Prevention is Key
Once you’ve mastered mold removal, you’ll want to ensure it doesn’t make a comeback. Here are some prevention tips:
- Keep Humidity Levels in Check: Ideally, your home’s humidity should be between 30-50%. Consider investing in a dehumidifier if you live in a particularly humid area.
- Ventilation: Ensure your home, especially areas like bathrooms and kitchens, is adequately ventilated. Regularly check and clean your home’s ventilation systems.
- Address Leaks Promptly: Be it a dripping pipe or a leaking roof, address any moisture problems immediately to prevent mold growth.
- Regular Checks: Periodically inspect areas prone to mold, such as basements, attics, or bathrooms. Catching the issue early on makes the mold removal process much easier.
Conclusion
Mold removal is a vital part of home maintenance that, when mastered, can ensure a cleaner, healthier living environment. By understanding the causes, recognizing the signs, and acting swiftly, you can effectively combat mold and its adverse effects. Remember, a mold-free home isn’t just a clean home; it’s a safer, healthier one.
