Homeownership comes with its fair share of surprises. Whether it’s a burst pipe, a blown fuse, or a leaking roof during a thunderstorm, being unprepared can turn minor issues into costly disasters. That’s why every homeowner should know how to build a basic emergency kit for home repairs. Having the right tools and supplies on hand helps you react quickly, avoid further damage, and save time while waiting for professional help.
This guide walks you through what to include, how to organize your kit, and where to store it for easy access.
Why Every Home Needs an Emergency Repair Kit
Emergencies don’t wait for business hours. A well-stocked kit ensures that you can address minor repairs or stabilize a situation while waiting for the pros. Think of it as your first line of defense.
- Quick fixes prevent more expensive damage.
- Saves time and stress during urgent situations.
- Offers peace of mind knowing you’re ready for common issues.
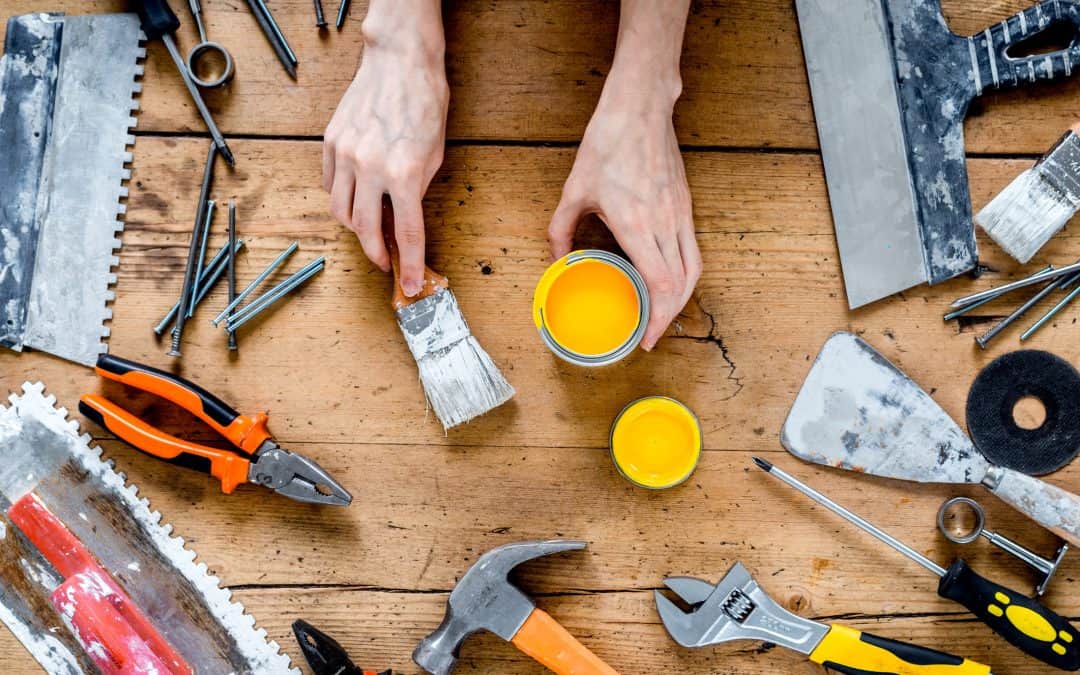
When learning how to build a basic emergency kit for home repairs, think in categories: plumbing, electrical, general tools, and safety items.
Essential Items for Your Home Repair Kit
Let’s break it down by category:
Plumbing Emergencies
- Adjustable wrench: To tighten or loosen fittings.
- Plumber’s tape: Stops leaks at joints.
- Pipe sealant/epoxy: Temporary fix for cracks.
- Bucket and rags: Clean up water spills fast.
- Plunger: A must-have for toilet clogs.
Electrical Problems
- Flashlight and extra batteries: For power outages.
- Voltage tester: Helps safely detect live wires.
- Screwdrivers: For outlet covers or tightening loose fixtures.
- Extension cords: Temporary power solutions.
General Repair Tools
- Hammer
- Tape measure
- Utility knife
- Super glue or epoxy
- Assorted nails and screws
- Multi-bit screwdriver
- Duct tape: Fixes everything (almost).
Safety Gear
- Work gloves: Protect your hands.
- Dust mask: Useful for handling insulation or sawdust.
- Safety glasses: Shield your eyes from debris.
- First aid kit: For any accidents during the repair.
Smart Add-Ons to Consider
Once the basics are covered, you can enhance your kit with tools tailored to your home’s age and systems:
- Battery-powered fan (for summer HVAC issues)
- Space blanket (for winter heating outages)
- Zip ties and bungee cords for quick securing
- Mini crowbar for emergency entry
- Silicone caulk for sealing leaks
Remember, when thinking about how to build a basic emergency kit for home repairs, tailor it to your needs. A home with a basement may need a sump pump alarm. Older homes might benefit from a fire extinguisher rated for electrical fires.
Where to Store Your Emergency Kit
Location matters. Ideally, your kit should be:
- Easy to carry (use a toolbox or plastic bin with a handle)
- Accessible during power outages (not in a dark corner of the garage)
- Separate from seasonal storage (you need it year-round)
Good spots include a laundry room, utility closet, or under a kitchen sink—just avoid the attic or outdoor sheds, especially in extreme temperatures.
Tips for Keeping It Ready
Just building the kit isn’t enough. Here’s how to keep it reliable:
- Check it every 6 months
- Replace expired batteries and bandages
- Clean rust off tools
- Replenish anything used after a repair
Label your kit and inform your family members of its location and purpose.
Emergency kit for home repairs!
Every household should prioritize knowing how to build a basic emergency kit for home repairs. You don’t need to be a handyman to benefit from one. A simple, organized collection of tools and supplies can be a game-changer in a home emergency.
With a few hours of prep and a modest investment, you’ll be more confident facing common home issues. And when a real emergency hits, you won’t be scrambling. You’ll be ready.